Arduino Uno R4 WiFiでhttpsサイトにアクセスする方法
ついにWi-Fiモジュールを搭載したArduino Unoが発売されました。今まではLTE回線を使ったsakura.ioを利用していましたが、モジュールの製造が終了したので代替の通信手段が必要となっていました。
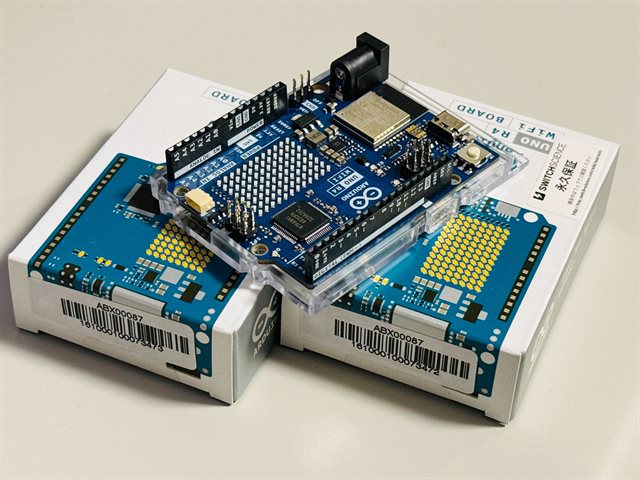
Arduino Uno R4 WiFi(4,950円)
「Arduinoに接続したセンサー情報」を「Wi-Fi接続」を使って「httpsサイトにデータを送信」する仕組みとなるので、まずはhttpsサイトにデータを送信する方法を調べてみました。
サンプルスケッチに答えがある
ネットで検索するとhttp接続は簡単にできそうでしたが、httpsとなると証明書をインストールしたり不具合多発したりと難易度が高そうだったので躊躇しましたが、よく探すとサンプルに答えがありました。
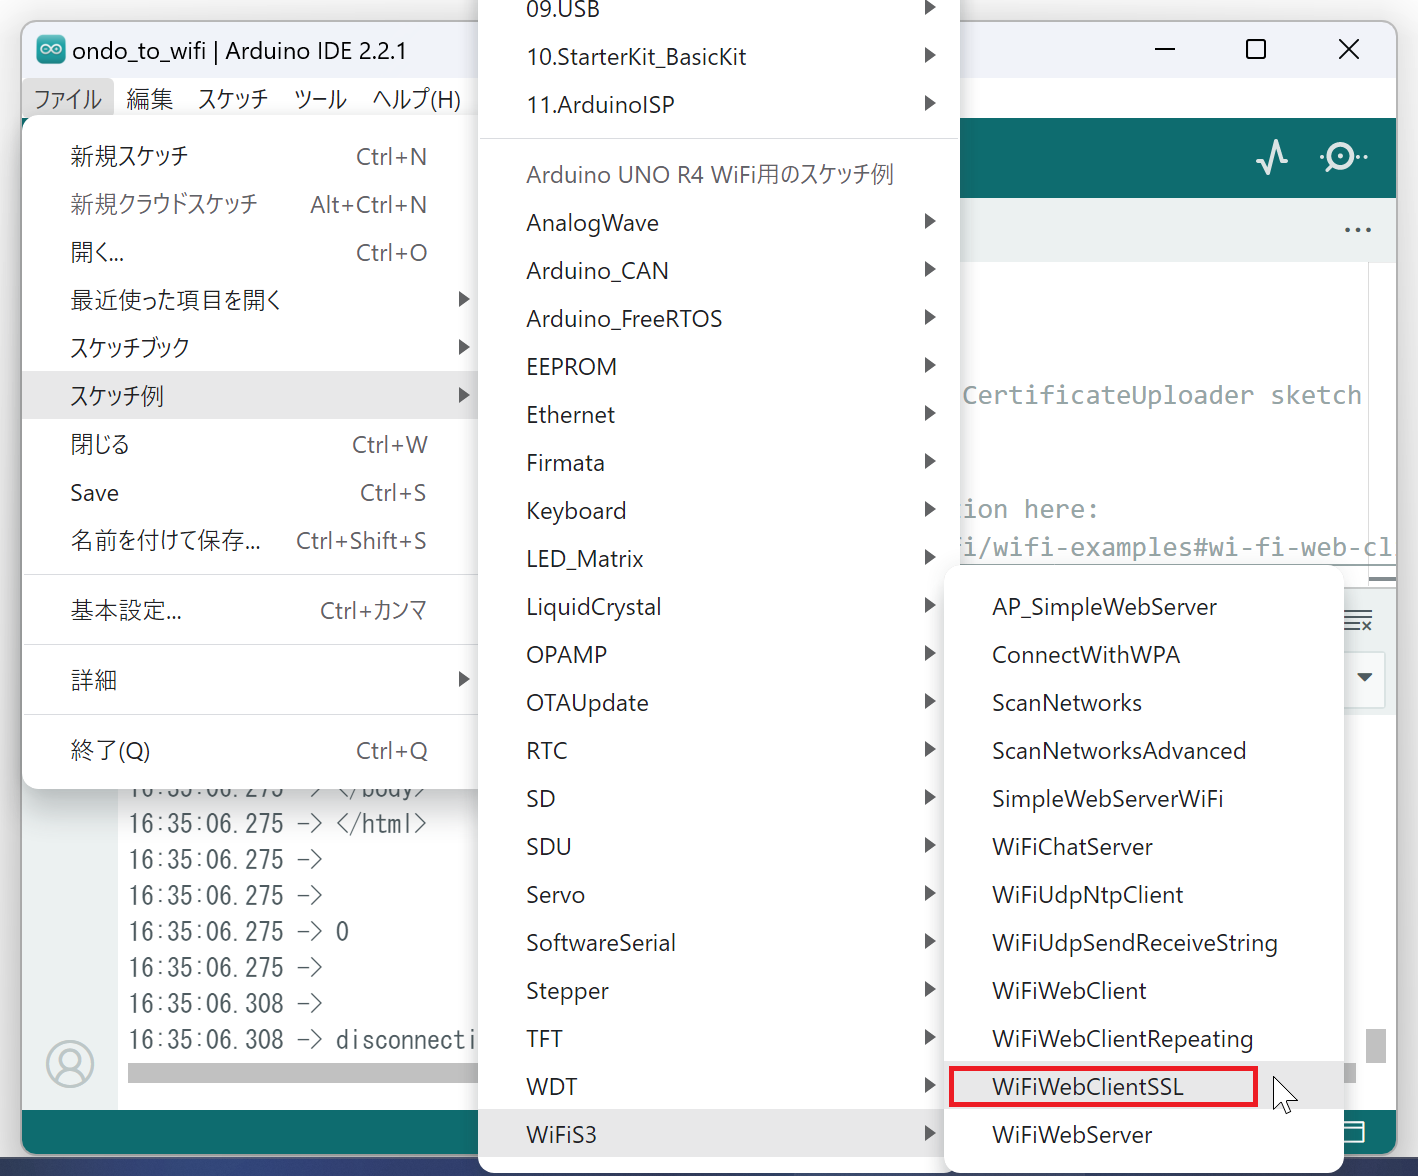
「Arduino IDE」の「ファイル」→「スケッチ例」→「WiFiS3」→「WiFiWebClientSSL」です。
/*
  TLS WiFi Web client

  Remeber to update the CA certificates using CertificateUploader sketch
  before using this sketch.

  Find the full UNO R4 WiFi Network documentation here:
  https://docs.arduino.cc/tutorials/uno-r4-wifi/wifi-examples#wi-fi-web-client-ssl
*/

#include "WiFiS3.h"
#include "WiFiSSLClient.h"
#include "IPAddress.h"

#include "arduino_secrets.h"

///////please enter your sensitive data in the Secret tab/arduino_secrets.h
char ssid[] = SECRET_SSID;        // your network SSID (name)
char pass[] = SECRET_PASS;        // your network password (use for WPA, or use as key for WEP)

int status = WL_IDLE_STATUS;
// if you don't want to use DNS (and reduce your sketch size)
// use the numeric IP instead of the name for the server:
//IPAddress server(74,125,232,128);  // numeric IP for Google (no DNS)
char server[] = "www.google.com";    // name address for Google (using DNS)

// Initialize the Ethernet client library
// with the IP address and port of the server
// that you want to connect to (port 80 is default for HTTP):
WiFiSSLClient client;

/* -------------------------------------------------------------------------- */
void setup() {
/* -------------------------------------------------------------------------- */
  //Initialize serial and wait for port to open:
  Serial.begin(115200);
  while (!Serial) {
    ; // wait for serial port to connect. Needed for native USB port only
  }

  // check for the WiFi module:
  if (WiFi.status() == WL_NO_MODULE) {
    Serial.println("Communication with WiFi module failed!");
    // don't continue
    while (true);
  }

  String fv = WiFi.firmwareVersion();
  if (fv < WIFI_FIRMWARE_LATEST_VERSION) {
    Serial.println("Please upgrade the firmware");
  }

  // attempt to connect to WiFi network:
  while (status != WL_CONNECTED) {
    Serial.print("Attempting to connect to SSID: ");
    Serial.println(ssid);
    // Connect to WPA/WPA2 network.
    status = WiFi.begin(ssid, pass);

    // wait 10 seconds for connection:
    delay(10000);
  }

  printWifiStatus();

  Serial.println("\nStarting connection to server...");
  // if you get a connection, report back via serial:

  if (client.connect(server, 443)) {
    Serial.println("connected to server");
    // Make a HTTP request:
    client.println("GET / HTTP/1.1");
    client.println("Host: www.google.com");
    client.println("Connection: close");
    client.println();
  }
}

/* just wrap the received data up to 80 columns in the serial print*/
/* -------------------------------------------------------------------------- */
void read_response() {
/* -------------------------------------------------------------------------- */
  uint32_t received_data_num = 0;
  while (client.available()) {
    /* actual data reception */
    char c = client.read();
    /* print data to serial port */
    Serial.print(c);
    /* wrap data to 80 columns*/
    received_data_num++;
    if(received_data_num % 80 == 0) {
      Serial.println();
    }
  }
}

/* -------------------------------------------------------------------------- */
void loop() {
/* -------------------------------------------------------------------------- */
  read_response();

  // if the server's disconnected, stop the client:
  if (!client.connected()) {
    Serial.println();
    Serial.println("disconnecting from server.");
    client.stop();

    // do nothing forevermore:
    while (true);
  }
}

/* -------------------------------------------------------------------------- */
void printWifiStatus() {
/* -------------------------------------------------------------------------- */
  // print the SSID of the network you're attached to:
  Serial.print("SSID: ");
  Serial.println(WiFi.SSID());

  // print your board's IP address:
  IPAddress ip = WiFi.localIP();
  Serial.print("IP Address: ");
  Serial.println(ip);

  // print the received signal strength:
  long rssi = WiFi.RSSI();
  Serial.print("signal strength (RSSI):");
  Serial.print(rssi);
  Serial.println(" dBm");
}
以下「arduino_secrets.h」のSSIDとPASSにWi-Fiの接続情報を入力します。
#define SECRET_SSID ""
#define SECRET_PASS ""
サンプルスケッチの実行
シリアルモニタを表示してから実行します。
17:04:04.308 -> SSID: XXXXXX
17:04:04.405 -> IP Address: 192.168.1.205
17:04:04.405 -> signal strength (RSSI):-64 dBm
まずはWi-Fiに接続を行い、正常に接続出来たらIPアドレスが表示されます
17:04:04.405 -> Starting connection to server...
17:04:05.405 -> connected to server
17:04:05.756 -> HTTP/1.1 200 OK
17:04:05.756 -> Date: Sat, 18 Nov 2023 08:04:04 GMT
17:04:05.756 -> Expires: -1
17:04:05.756 -> Cache-Control
17:04:05.756 -> : private, max-age=0
17:04:05.756 -> Content-Type: text/html; charset=ISO-8859-1
・・・以下省略インターネット接続が確立したら、サーバへの接続を試み「HTTP/1.1 200 OK」となれば接続は成功しています。
<!doctype html><html itemscope="" itemtype="ht
tp://schema.org/WebPage" lang="ja"><head><meta content="世界中
のあらゆる情報を検索
・・・以下省略
それ以降はサーバから受信した内容(www.google.com)が表示されています。
まとめ
Arduino Uno R4 Wi-Fiからインターネットへの接続…簡単すぎる…です。
次回から、実際に取得したセンサー情報をサーバへ送信していきます!